
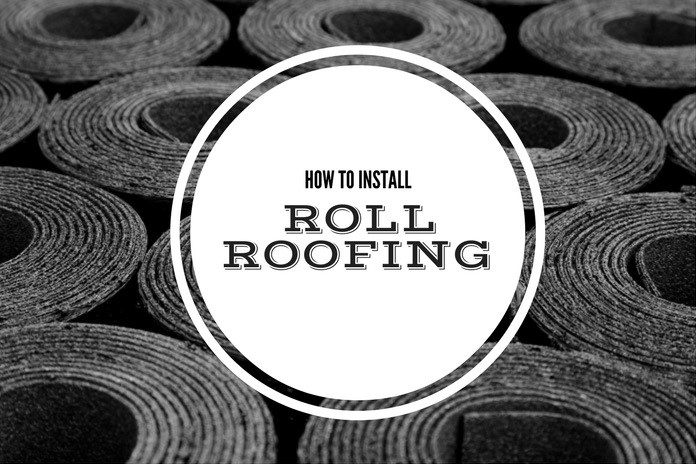
For those who have a building with a low roof, you may want to consider giving it an upgrade. One option to check out would be roll roofing. It's a simple procedure that will help your structure covered and its insides protected. But what is roll roofing and how can you do it? We will show you how to install roll roofing and everything else you need to know about it.
More...
What is Roll Roofing?
Just like what the name suggests, roll roofing is rolled and laid on the roof using sheets or strips that overlap. They are similar to roof shingles but longer and thinner. It's for low-incline roofs and made for functional buildings such as work sheds or garages. What makes roll roofing a good choice is that it's cost-effective and can be done by any homeowner.
There are different materials you can use when roll roofing, all depend on what your preference is. Roll roofing is a simple design which would be best for structures that do not garner much attention.
Why Choose Roll Roofing?

Roll roofing is very advantageous for any home or business owner, especially when using it for outbuildings that require a simple roof. Here are some of the pros:
- The material is easy to transport, as it's lightweight and rolled up.
- It's cost-effective, known as the most affordable roofing material you can purchase.
- The roof is easy to install, with anyone being able to do it. It only takes a few minutes to roll out a square of roll roof.
- Take note that roll roofing is great (and sometimes the only way!) for low-inclined roofs, but not for flat ones.
What You Need to Install Roll Roofing
Here are the materials you will need to prepare before installing your roll roof:
- Roll Roofing
Like mentioned, you can choose among these materials for roll roofing:
- Asphalt
- Fiberglass
- Asphalt-Saturated Organic Felt
- Asphalt-Coated Fiberglass
Make sure that you have the right measurements for your roof. Take note that they come in rolls of 100 square feet.
These materials aren't necessary, but it's recommended to add protection to your building.
- Marking Tool
- Roofing Cement
- Utility Knife
- Cleaning Materials
As for time and skills, all you will need is half a day for roll roofing a 700-square-foot roof (on average). You will only need basic carpentry skills.
How to Install Roll Roofing
Here are the basics when installing roll roofing to your structures:
1. Clean the Roof
Before anything else, it's best to clean the roof and rid it from any excess dirt or mess. You won't need to disinfect or clean it excessively, but to simply sweep away unwanted things that may affect your roofing. Cleaning your roof is to make sure that your roof is flat and free from any particles found underneath.
Take a broom and sweep away foreign materials such as leaves.
2. Prepare the Materials
Lay down all the materials you need to avoid wasting time looking for what else you need. Lay the roofing sheets flat on the ground.

Take note that preparing the roofing in cold weather may end up damaging the material, as it isn't flexible. If you do lay them in cold weather (Less than 45 degrees Fahrenheit), do so inside a garage to let it warm. Warming your flat roll roofing may take up to a day.
3. Install the Underlay
If you do install underlay, roll it out and tack it down on your structure. You can install flashing to keep water runoff as well.
Apply cement to the places you will add the underlay or flashing and apply it to your roof, nailing it down when firmly in place.
4. Apply the Roll Roofing
Using your measuring tape, measure about 35 inches from the bottom of the roof and make a mark for the first layer. Don't use eaves to guide, as they may be uneven. Taking measurements and making a mark will ensure that you have a straight bottom edge and wrinkle-free roof.
Apply 6 inches of roofing cement at the bottom and sides of the roof (From the chalk marks). Lay the first layer of roll roofing, extending it to a few inches more.

5. Nail and Cement the Roll Roofing
Nail the roofing using a sturdy hammer, leave 9-12 inches of space between nails. Use a minimum of 1-inch roofing nails to make sure it will remain steady. Press down the edges, ensuring that it won't take off easily.
Repeat the process for the next few levels of the roof, start again from step 2 and measure the roof again. When reaching the top, cover the nail heads with cement to make sure they are sealed.
As for the sides with shorter width, start off with a 6-inch overlap and repeat just like before.
6. Trim the Roll Roofing
Once the roof rolling is now firmly in place and nailed down, trim the edges using your utility knife. Use the edges of the roof as a guide. After, add roofing cement to secure the edges.
And you're done! Clean any excess dirt from the roof and check if any imperfections need to be trimmed or sealed.
Conclusion
If you're looking for a great way to cover your outbuildings or sheds, then roll roofing is the way to go. It's not only an easy way to roof your structure, but it's inexpensive as well, unlike applying shingles. Hopefully, this guide on how to install roll roofing will have helped you know how to apply it efficiently and without fail.
So what are you waiting for? If you're planning to install roll roofing to your structure, then get started and follow this guide!
We hope you found the article helpful. If you have any suggestions or thoughts on how to install roll roofing, then comment down below. We would love to hear what you have to think.