
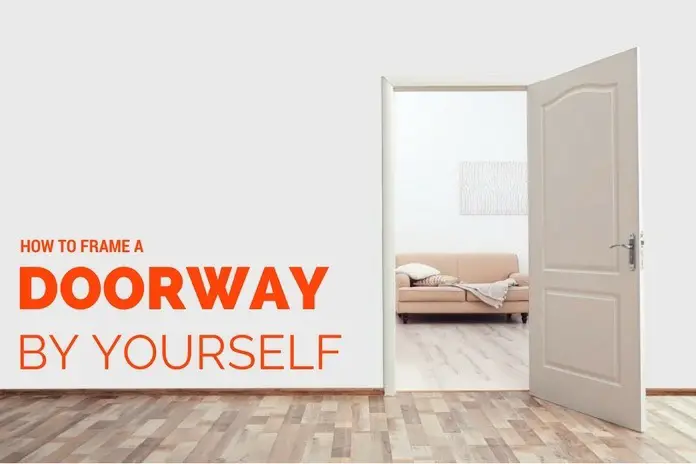
Installing a new door by yourself is one of the most fulfilling experiences as a home improvement enthusiast. Framing a doorway correctly will make installation an easy and head-ache free experience. If you have an entryway that needs a new door, then this is the article for you: a simplified version of how to frame a doorway.
More...
Materials
TIP
If you don't have a nail gun, use a framing hammer instead.
How to Frame a Doorway
Step 1: Assemble your materials and lumber
Buy all the required materials from a hardware store or home improvement center. Or make it easier by buying from Amazon and having it delivered right to your doorstep.
Assemble all your materials on the floor or work table for easy access.
Step 2: Measure the size of your door and doorway
Using your measuring tape, carefully determine the height and width of your door and doorway.
Note all these measurements down on a piece of paper. A doorway should be 2 inches wider and higher than the door itself for allowance. So if your doorway is 2"8" wide and 80" tall, list down your measurements as 2'10" and 82".
Step 3: Cut the studs and sill plate
Now that you've determined the right measurements, it's time to cut your studs and sill plates. For easier clean-up, I recommend doing this outdoors.
Moreover, remember to use proper work attire, including work gloves to prevent scrapes or splinters.

For this step, you can use a hand saw or folding saw, whichever you prefer.
First, let's list down the parts you'll need:
- Studs - these are pieces of board that run upright from top to bottom of your door. Cut your lumber using the height measurement plus 1 and a half inch allowance.
- King stud - this piece is the one that runs from the top plate to the bottom plate.
- Jack stud - these are supporting pieces nailed to the king stud
- Wall stud - this is the piece that is put in between the top and sole plate.
- Door header - to make a door header, cut two pieces of lumber using the width of the entryway as reference. Put a piece of plywood in between, then nail them together using your nail gun or framing hammer.
- Top plate - this piece runs along the width of your entryway at the top. To make the top plate, simply cut a piece of wood the same size as the width of your entryway.
- Sole plate - this piece runs along the width of your entryway at the bottom. To make the sole plate, simply cut a piece of wood the same size as the width of your entryway.
Step 4: Mark the top and sole plates
Mark both of your top and sole plates every 16" on center for studs with a pencil or chalk. The studs for the door itself shall be skipped.
To easily understand what you need to do, use the image below for reference. Note that the marks on the inner ends shall be for king studs.
Step 5: Nail down your top and sole plates
The first step to assembling your doorway is to nail down the top and sole plate to your entryway. To do this, fit your top plate and nail it down onto the ceiling joists.
On the other hand, nail down your sole plate to the floor. Remember not to place nails in between the jack studs, as this should be cut away to make way for the door.
Step 7: Insert your wall studs
Insert your wall stud between the top and sole plates and nail them on either side of the doorway, using a corded drill.

Step 8: Insert the king studs
Now, it's time to nail down your king studs. Do this with a nail gun loaded with 12D nails. Insert your king studs in between the top and sole plates (on the mark you made before), then nail it down at an angle to keep them in place.
Step 9: Follow with the jack studs
You have your king studs nailed down; the next step is to nail the jack studs onto the inner part between the two king studs. Note that there should not be any space between the king and jack studs.
Step 10: Nail down your premade header
Afterwards, fit the door header you made before between the king studs and on top of the jack studs. The fit should be snug and tight, so make sure this is so. Then, nail the door header to the king studs at an angle to fix them into place.
Step 11: Saw off the sole plate
Using a folding saw, remove the sole plate at the bottom to make way for the door.
Conclusion

There you have it! Now you know how to frame a doorway by yourself. The process may seem difficult at first, but it is really a simple job. In fact, framing a doorway is one of the basic jobs for a home improvement enthusiast like us. Moreover, framing your own doorway is a great way to save money!
Did you like this article? If you did, make sure to leave a comment below and share this with your DIYer friends as well. After that, take it a step further and check out this article on how to paint a metal door. Thanks for reading!