Popcorn ceilings were all the rage in the 1990s. Every second home had a popcorn ceiling. They were mostly used for hiding imperfections or flaws in the ceiling. Back then, it was cost-effective and time-saving.
But, these days popcorn ceilings are being replaced with panels. Read on to find out the why and how of removing popcorn ceilings. And replacing them with panels.

Why Should You Replace Your Popcorn Ceiling
- Popcorn ceilings make rooms appear darker. The texture of the ceiling causes light to bounce off and create excess shadows. A relaxed environment can be achieved with the removal of popcorn ceilings.
- If your ceiling was created before 1978, it is quite possible that it was made with asbestos. To remove the threat of asbestos poisoning, you should work towards removing your popcorn ceiling.
- It is very hard to clean popcorn ceilings as you might know. The dust gathers in the hard to reach crevices very easily.
- If your popcorn ceiling is already damaged, there isn’t much you can do to fix it. Not without redoing the whole ceiling to match.
- If your popcorn ceiling has started to show signs of discoloration, it is time to change it and get something fresher.
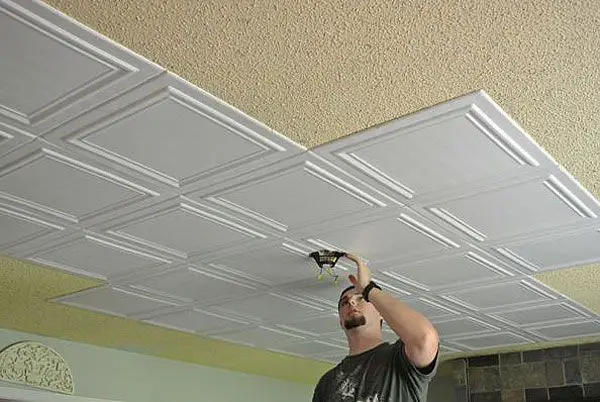
- If you are looking to re-do your decor, the first place to start would be the popcorn ceiling. To get a more modern look, you can opt from various types of ceiling panels.
Removing The Popcorn Ceiling Vs Covering The Popcorn Ceiling

Although removal of the popcorn ceiling might sound like a better prospect, It is actually a very messy and time-consuming task.
Instead of spending hours and hours removing the popcorn ceiling, it is a better idea to cover it up with the ceiling panels of your choice.
Unless you find any risk of asbestos usage in your popcorn ceilings or they were made before the Clean Air Act, it is better to not remove it at all.
What Sort Of Ceiling Panel Options Are Out There?
You can choose from a plethora of ceiling panel types, based on your requirements:
- Acoustic Ceiling Panels
- Drop Tile Planter
- Special Grids
- Felt Ceiling Panels
- Shaped Modular Tiles
- Printed Felt Panels
- Adventure Panels
- Resin Panel System
- Wooden Panels

How To Remove Your Popcorn Ceiling
Check your popcorn ceiling for asbestos
It is recommended to get this part done by a professional. If you decide to get a DIY Asbestos testing kit, make sure to wear proper protective gear.
In case the ceiling tests positive for asbestos, it is best to leave the removal to professionals.
Get your DIY tools together
You will need the following:
– A garden sprayer or spritzer
– Lots of plastic sheets
– A wide putty knife
– Safety goggles
– Gloves
– Dust Mask
– Painter’s Tape
– Ladder
Lay Out Your Plastic Sheets
Removing popcorn ceilings can be messy, so remember to cover the floor with plastic drop cheers. Also, cover up any furniture and fixtures in the room.
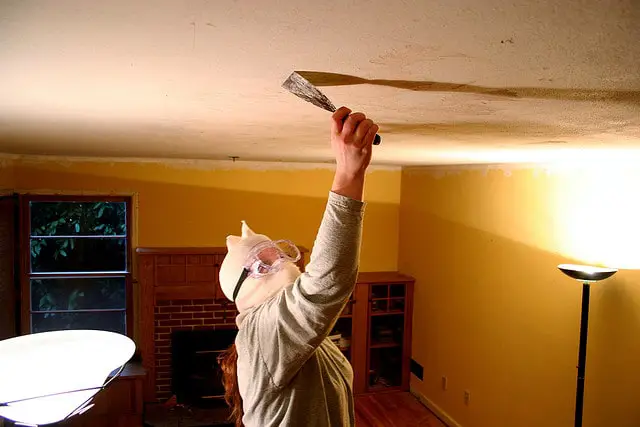
Wear protective goggles, dust masks, hair covers, and gloves to protect yourself as well.
Wet The Ceiling and Scrape Away

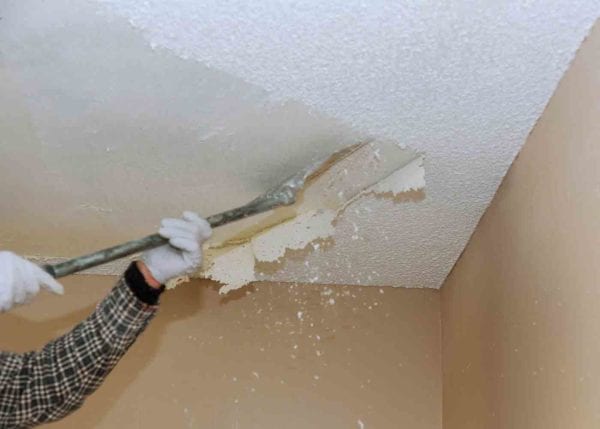
Start by spraying water on parts of the popcorn ceiling. This will make it easier to scrape away the protrusions. Work in small sections.
It is easier to manage a wet scrape than a dry scrape. Also, dry scrape means extra effort and lots of dust.
Be gentle while scraping so as not to gouge out the actual ceiling. Remember to simply spray the ceiling to get it. Do not soak it.
You can always wet an area again to loosen up the kernels.
Fix Any Imperfections
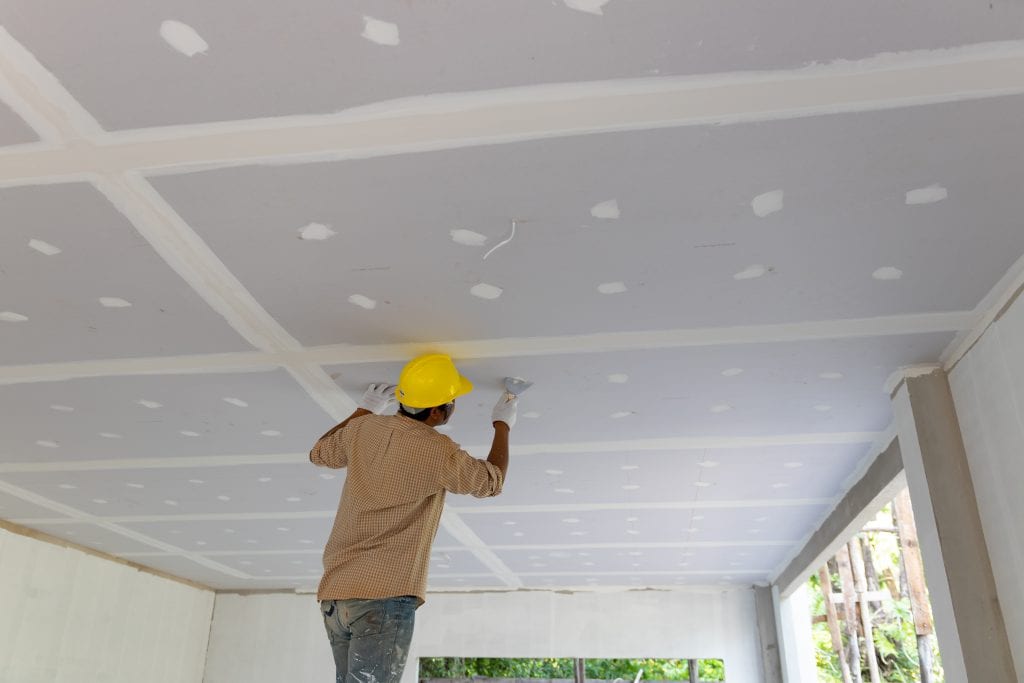
After you are done scraping, it is quite possible that you will find imperfections such as visible joints, cracks or screws.
You can cover these up with joint compounds and then sand the area to make it smooth. This should be done before applying the primer.
Give the ceiling a fresh coat of paint before you can consider the job done. Let the paint dry well, before adding a second layer.
Painting with one layer and letting it dry well will ensure you can check out any imperfections that the wall might still have.
Time To Add Your New Ceiling Panels
After your paintwork on the ceiling has dried, it is time to put up your new ceiling panels.
You can either get professionals to install the ceiling panels of your choice. Or you can get the ones that can be easily installed by DIYers.
These sorts of ceiling panels come pre-fabricated and you can simply fix them in place. These can be customized to ensure that holes for your electrical fixtures are already cut into them.
You can use a nail gun for wooden ceiling panels. Or use construction adhesive to attach faux tin panels. Heavy-duty fasteners would be needed for drop ceilings or resin panels.
Needless to say, this is more than a weekend project. Even if you want to remove the popcorn ceiling on your own, it is advisable to let the professionals do the heavy lifting (literally) while installing the new ceiling panels.
Further Watching:
Tips To Remember When You Plan To Remove Your Popcorn Ceiling
- Remember to take plenty of breaks since this is a time-consuming work.
- You can file the edges of your putty knife so that it doesn’t scrape away the ceiling beneath the popcorn.
- Take your time in scraping while removing popcorn ceilings.
- If you find that even despite wetting the ceiling, the texture is not coming off smoothly, that might mean that paint has been mixed with the original texture mix. That might make your work twice as hard.
Experts will say that there is no place for popcorn ceilings in a house with modern decor. And they might be right.
Armed with the above information, maybe it is time for you to think about changing the look of your ceilings as well?
