Introduction
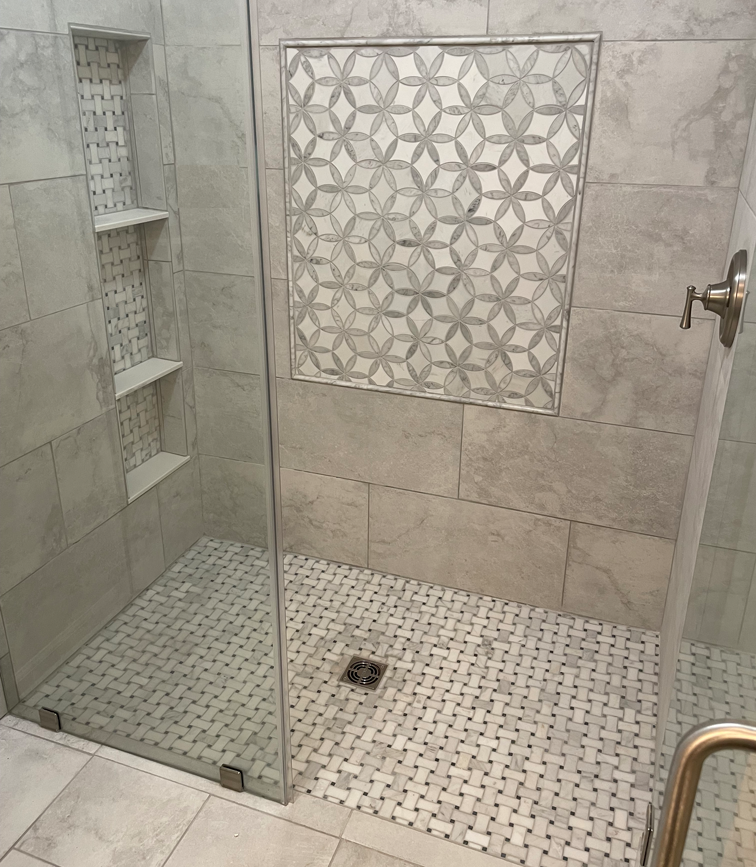
In the past we had an opportunity to build and install a Curbless shower. In this article I will detail the work that we performed, discuss the tools used, and show the final results of the build-out.
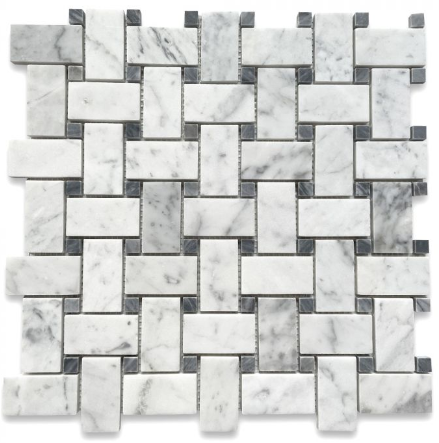
We had choose custom Stone Center Carrara White Marble 1×2 mosaic tile on the shower floor with larger porcelain tile throughout the bathroom floor.
- Introduction
- Step 1: Getting Ready prior to the Shower Floor Demolition
- Step 2: Cut up the Concrete Shower Floor
- Step 3: Setting the Schluter Drain
- Step 4: Mixing and Laying in the Deck Mud Mortar Base
- Step 5: Waterproofing the Shower Walls with KERDI-Board
- Step 6: Waterproofing the Shower Floor Pan with KERDI Membrane
- Step 7: Laying the Carrara White Marble Tile
- Conclusion
- Cost for the Shower Project
- Tools bought and used on this job
- Some of the tools we used from our own toolbox
- Schluter Materials Used on the Project
- Fixing a Broken Piece of Tile
Step 1: Getting Ready prior to the Shower Floor Demolition
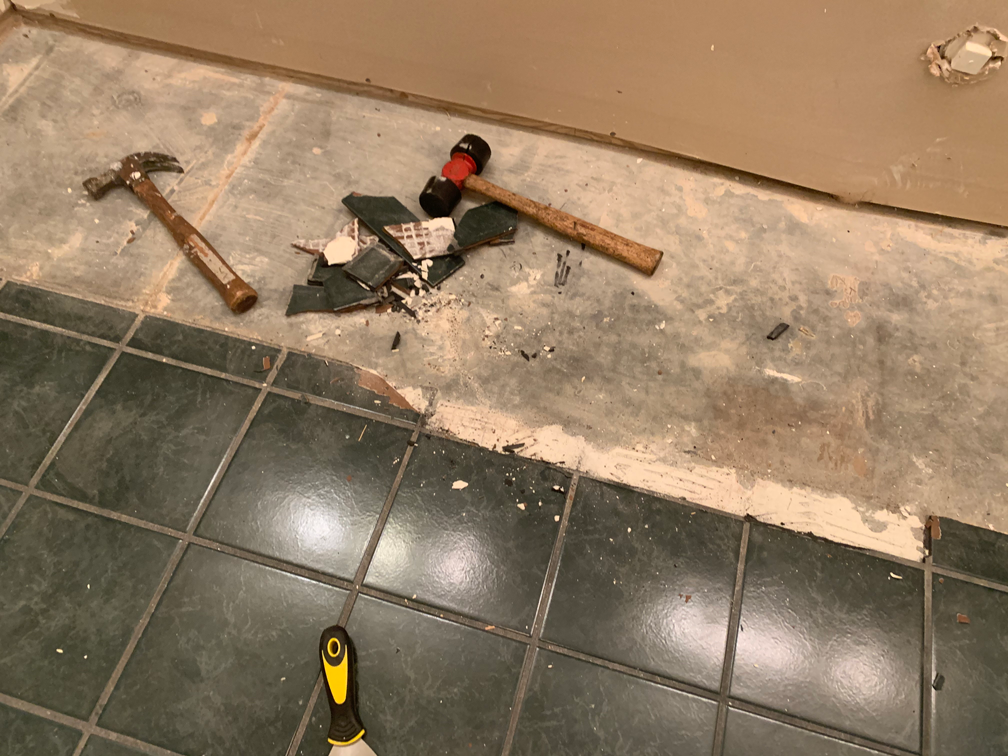
Before we started the shower renovation, we had to demo the existing bathroom floor. There were a number of items we needed removed before starting on the Curbless shower base. Polakicau
- The old fiberglass shower was cutout and remove using a Sawzall
- All the floor tile from the existing bathroom floor
- The bathroom vanity cabinets were removed
- Electrical lighting was removed (remember safety, turn off breakers and check the electricity using a tester
- Removed all the existing plumbing, capped off the waterlines, removed the toilet, and removed all the fixtures from the area
Before I begin detailing the steps, we went through during the modern curbless shower installation and installing new tiles, I wanted to say we spent a number of hours deciding on our design and determining the cost of the bathroom remodel including the Curbless shower install.
(Note: we ended up using the Makita 1214C 27-pound jackhammer to help with removing the floor tile.)
Step 2: Cut up the Concrete Shower Floor
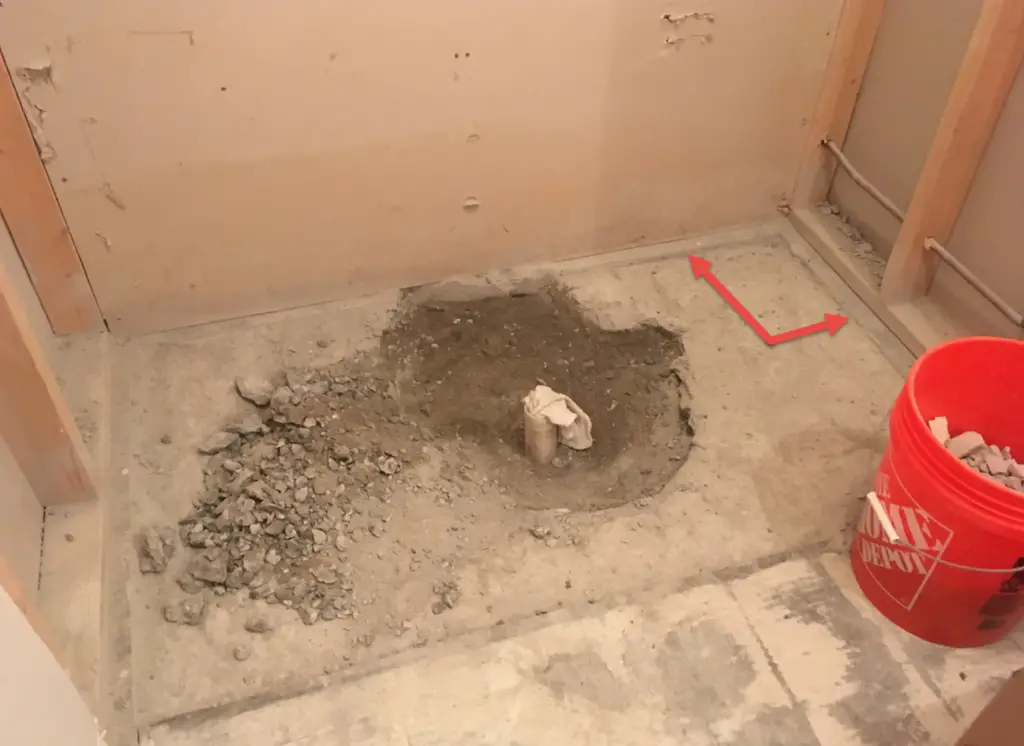
Below we have started work breaking up the concrete. Here’s what we did:
- We marked a square around the outside and across the front that was about 1 inch (noted red lines in the diagram below and red arrows above).
- Using a hand power skill saw with a concrete blade we cut strips about three quarter to one inch (3 / 4 “ to 1”) deep through the area to be recessed for the shower bed. (Note: This might require multiple passes a less depth until you reach about 1” – 1 1/2″)
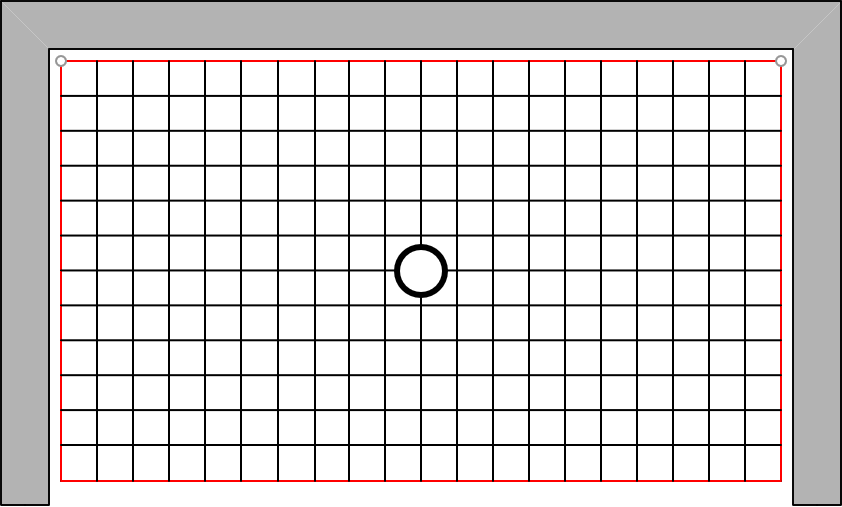
- Using a Makita 1214C 27-pound jackhammer we broke out the concrete in between the red lines
- Using 5 gal buckets we remove the concrete from the shower bed (Note: The hand skill saw does get hot so you may need to stop and allow it to cool off)
Step 3: Setting the Schluter Drain
Here we were setting the Schluter Drain into the shower base after we had remove all the concrete making sure we had at least a one quarter (1/4) inch slope from the outside to the inside top of the Schluter drain.
- We test positioned the drain on the PVC or ABS pipe
- Make sure there’s a trap installed to seal off any gases emitted by the sewer
- Verify the height for the proper slope to the drain (1/4” slope per foot)
- Glue the Schluter Drain to the pipe (Note: here where we dug down to check the P-Trap was installed and it’s condition we had to repour a small amount of concrete around the drain to finish it back off)
Step 4: Mixing and Laying in the Deck Mud Mortar Base
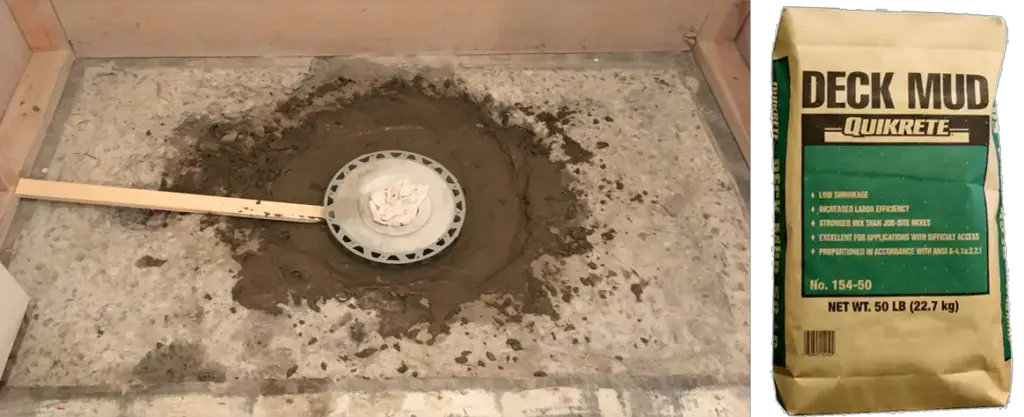
- We start by filling the shower base with the deck mud by building the proper 1/4-inch per foot slope
- We use cut wood slats (2 or 3 at multiple lengths around 2.5 inches) to get the proper finish of the mortar (Note: Watch the videos in the next section, the “Stud Pack” guys put together great instructional videos on cutting up the concrete floor, and installing the deck mud needed for the Curbless Shower)
Building your own shower floor from scratch requires you to either buying pre-mixed deck mud in a bag or mix up your own dry pack mortar.
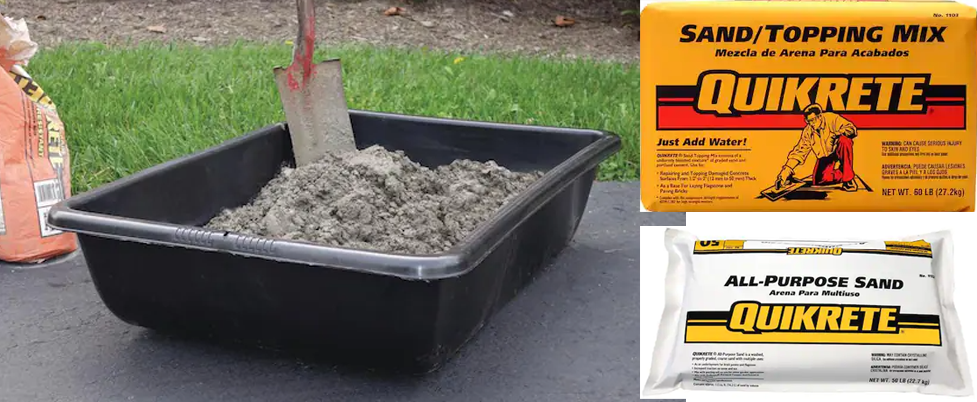
- Dry pack mortar is made from Portland cement, sand, and water.
- The mixture should be approximately 1 part cement to 4 parts sand.
- The correct consistency is met when you can form a “snowball” with the mix using your hands and toss it up a few inches in the air without it breaking all to pieces. (Note: Think sand castles at the beach, if the mortar sticks together like that then your golden and ready)
- Buy Quikrete Sand/Topping mix and all-purpose sand from your local home improvement store (Note: Using a mortar tub or a five (5) gallon bucket works really well for mixing the dry pack. I personally find it easier using the mortar tub with my garden hoe when mixing)

Step 5: Waterproofing the Shower Walls with KERDI-Board
As I said above, we use the KERDI-Board exclusive now on walls. I know someone out there is questioning the use of a foam board on a wall to hold up heavy tile.
I will have to say once the waterproof-foam KERDI-Board is hung properly, the thin-set mortar and tile is installed, it is a flawless system.
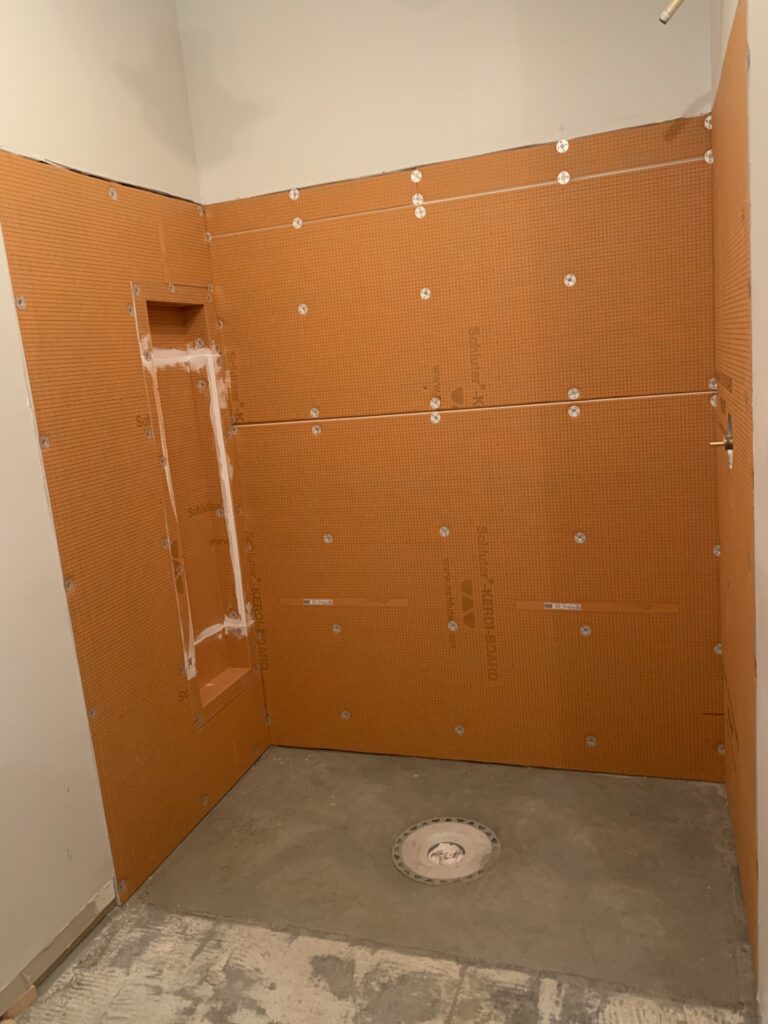
- Cut the KERDI-Board to fit the walls
- Use the Schluter screws to install the KERDI-Board on the wall (KERDI-BOARD can be mounted vertically or horizontally on wood framing with the KERDI-BOARD screw and washer hardware set.)
- Installing the KERDI screws on-center spacing for fasteners:
- Vertical: 12″ (30cm)
- Horizontal: 16″ (40cm)
- Install the KERDI-Board for waterproofing in the Niche or install a pre-made Schluter Niche
(Note a: As you can see above this shower has a 48” long Niche, since they do not make one that long, we cut down a 12” Niche and used KERDI-Board to fill in the middle.
(Note b: I wait to install the KERDI corners and KERDI-Band along the bottom of the walls and base until after the walls are completed with KERDI-Board.)
Step 6: Waterproofing the Shower Floor Pan with KERDI Membrane
First, I would like to say, a few years ago I stopped carrying heavy Durock concrete board or Backerboard for floors and walls in favor of using Schluter Ditra, Schluter Ditra XL, and Schluter KERDI-BOARD.
On Concrete I use the KERDI membrane to waterproof directly over the concrete. For the wall I always use the KERDI Board.
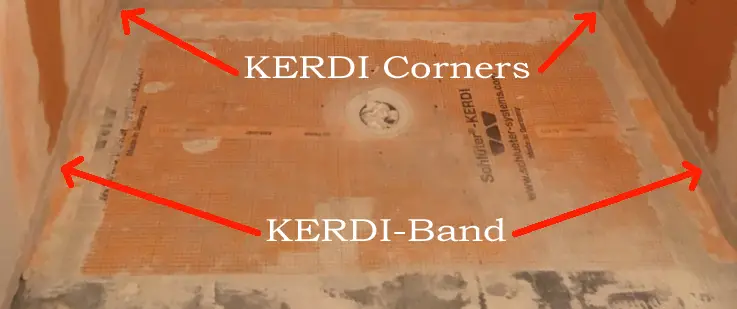
- Cut the KERDI membrane and to fit it to the floor in your shower base
- Using an A 1/4″ x 3/16″ (6 mm x 5 mm) V-notched trowel or the Schluter™ KERDI-TROWEL install unmodified mortar on the dry pack base
- Position the KERDI membrane and solidly embed the KERDI membrane into the fresh mortar with the flat side of the trowel (a 4” to 6” drywall knife is handy for this purpose as well)
- Install the KERDI corners and KERDI-Band to seal along the bottom of the KERDI-Board wall and the floor base.
- If you do not want to use KERDI-Board or KERDI membrane, then make sure you use a concrete board on the shower walls and waterproofing such as 1-gallon of USG DUROCK liquid waterproofing membrane or I prefer the 1-gallon container of the RedGard waterproofing and crack prevention membrane
Step 7: Laying the Carrara White Marble Tile
This step could be an article with-in itself, describing the full installation of the marble tile on the walls and floors and installing the custom mural on the back wall. I will try and answer many of the questions you might have and where to start.
- Laying the Carrara white marble tile on the floor of the shower base
- Observations:
- Use small tiles on 12”x12” sheets, or small individual tiles (Note: large tiles are hard to form to the slope of the floor base and small tile sheets are easier to form around the drain)
- If you use light color tiles, and your grout is light then use white mortar, gray mortar works if the tile and grout is darker color
- Be careful how much pressure you apply on the tile sheets when pressing down as the mortar will ooze up thru the grout joints requiring clean up between the small pieces
- Observations:
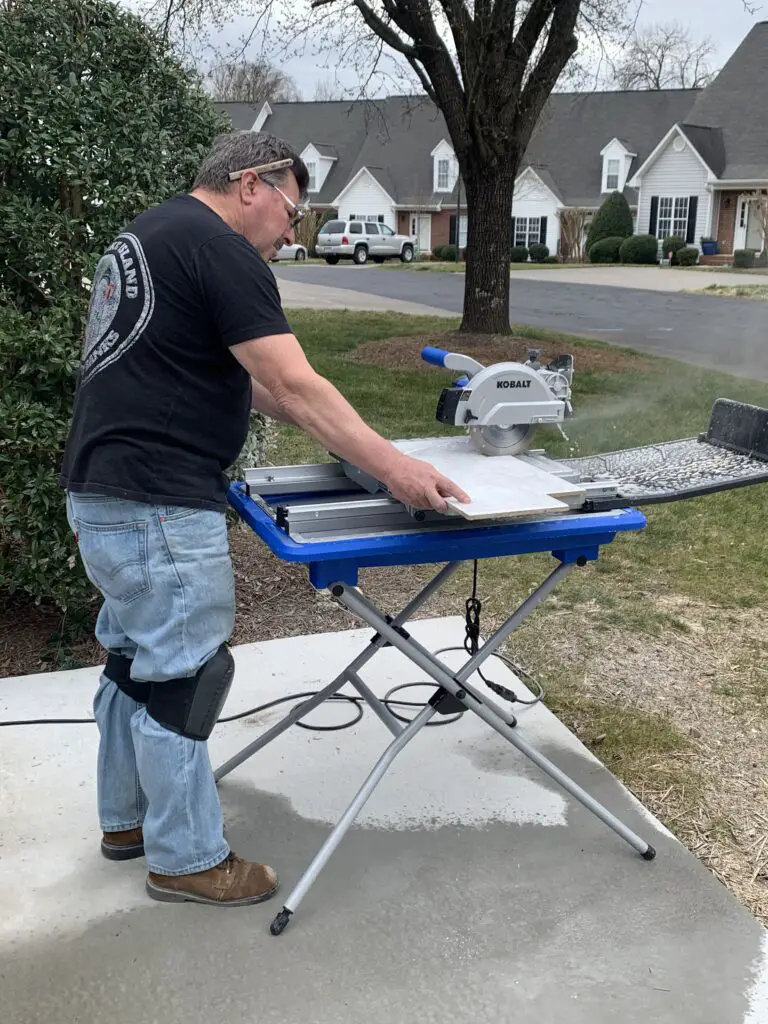
- You could cut the tile with a manual tile cutter, but to get a professional job you will need a Wet Tile Saw (get a wet saw large enough to cut 24” x 12” tile at a minimum) Checkout this comparison guide on the best tile cutters.
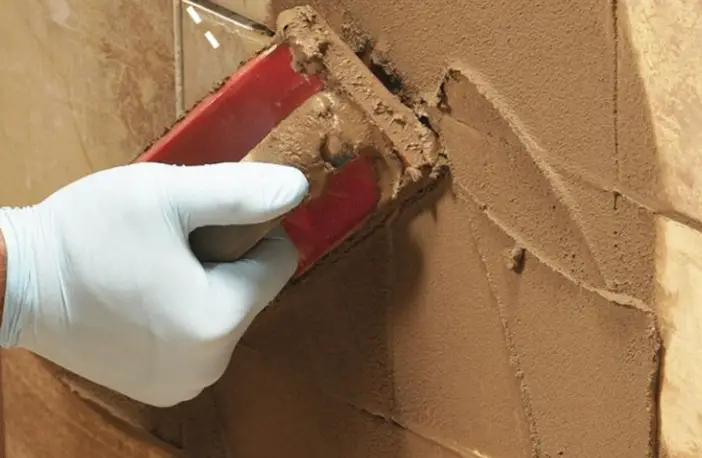
- Dry layout all your tile pieces, if you’re not a professional I find that if I layout, pre-fit, and pre-cut all my tile pieces on the floor before starting I have a better-looking job in the end. (Note: try practicing on a smaller job if possible before tackling a complete bathroom)
- Pour the grout into one of the 5-gallon buckets, Mix the grout until it is powder-free. you can use a margin trowel or the steel mortar paddle in the drill
- Let the grout “Slake”, and give it 8 – 10 minutes or so to sit. remix the grout after slaking, do not add more water
- Load the joints with grout, using the float wipe across removing the excess grout, while not removing grout from the joints
- Once the grout starts to harden, 15 – 20 minutes, using a damp tiling sponge, wipe away a layer of grout, trying not to remove grout from the joints (Check out the link above at the Family Handyman site for pointers)
- Repeat the cleaning process by wiping the grout residue away until the tile feels clean
Conclusion
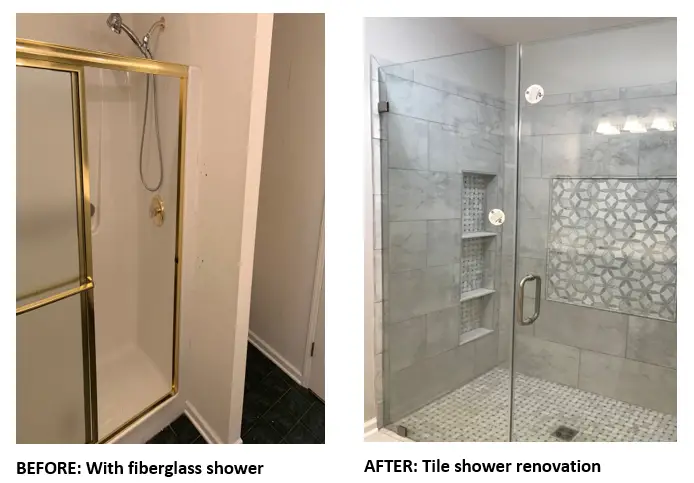
Certainly, you have to agree the After looks much better than the Before, I know what you’re thinking, you don’t think you can pull off a job like this one. Not having a curb allows the bathroom floor tile to flow seamlessly into the shower.
This creates a sleek and modern look for your bathroom floor. The next benefit is that there is no tripping hazard with a modern curbless shower installation.
Well to be honest, prior experience would help, and you will need a wet saw on the job like this one as well as some patience. Below is a list of the tools you’ll need for the job.
Let’s talk about the cost for the master bathroom modern Curbless shower installation project. Adding the frameless glass panel and door completed the installation.
Cost for the Shower Project
| Schluter KERDI materials (Note: Includes KERDI-Board, KERDI membrane, KERDI-Band, KERDI-Screws, Drain, unmodified and modified mortar) | $ 550.00 |
| (13) Stone Center Carrara 1×2 Basketweave Mosaic Tile | $ 175.00 |
| (35) 12” x 24” Timeless Italian Tile | $ 556.00 |
| (28) 3” x 12” Bullnose Timeless Italian Tile | $ 157.00 |
| Plumbing (Delta Shower Valve and head assembly) | $ 299.00 |
| Misc. Mortar, Caulking, Blades, Sand paper, Etc., estimated) | $150.00 |
| ESTIMATED TOTAL NOT INCLUDING LABOR COST (Assuming do-it-yourself project, not including tool cost) | $ 1887.00 |
Tools bought and used on this job
| (Lowes) Kobalt KWS S72-06 7-in 10-Amp Wet Sliding Table Tile Saw with Stand | $ 349.00 |
| Bosch 15-Amp 7-1/4-in Corded Circular Saw | $ 129.00 |
| Carbide Tip Hole Saws for Tile | $ 100.00 |
| Carbide Tip Jigsaw Blades for Tile | $ 22.00 |
| (Rented) Makita 1214C 27-pound jackhammer | $100.00 |
Some of the tools we used from our own toolbox
DEWALT 7-1/4-Inch Circular Saw, crowbars, chisels, hammer, screw drivers, electric power drill for mixing mortar, V-notched trowel’s, rags, power sanders, QEP 61205 24 in. Professional Steel Mortar Mixing Paddle, 4″ or 6″ drywall knife, water hose, garden hoe, 2-3 buckets, sponges, mortar mixing tub, plumbing glue, etc.
(Note: Later into the project I had purchased a BOSCH 11316EVS SDS-Max Demolition Hammer, Bosch Blue jackhammer that was used for some additional work in both of the bathrooms. I have a rule if I rent a specific tool two times and need to rent one a third I usually purchase the tool.)
Schluter Materials Used on the Project
| Schluter KERDI-Drain Flange Kit ABS (KD2FLKABS) | 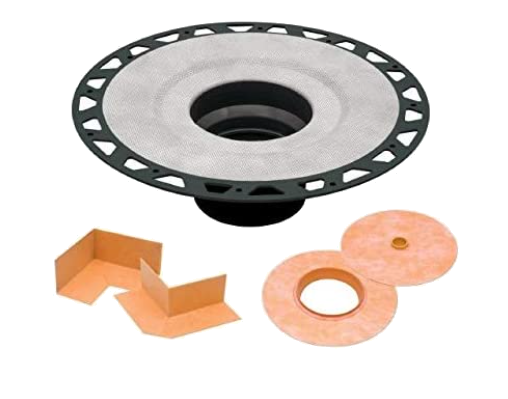 |
| Schluter KERDI-Board-SN: Shower Niche (with Shelf) 12″x28″ (1) |  |
| Schluter KERDI 108 Sq Ft Waterproofing Membrane | 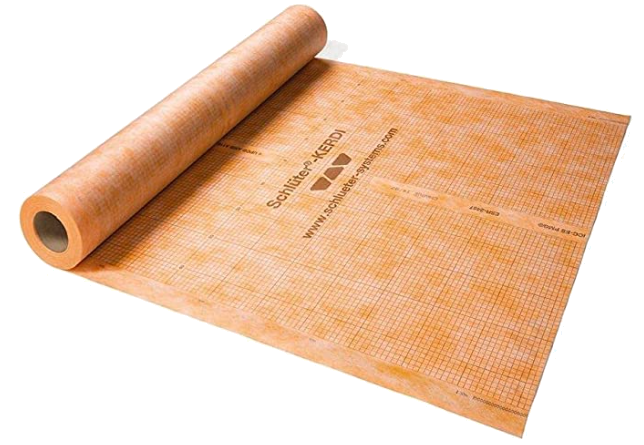 |
| Schluter KERDI-Drain Grate Kit, 4″ Stainless Steel Finish (Used with the KERDI-Drain, comes in different materials and color. Brushed Brass, Brushed Stainless Steel, Oil Rubbed Bronze, Chrome. They make rounded drain grates as well. |  |
| Schluter KERDI-Band – 5″ X 33′ |  |
| Schluter KERDI Trowel – 1/8in x 1/8 in Square Notch | 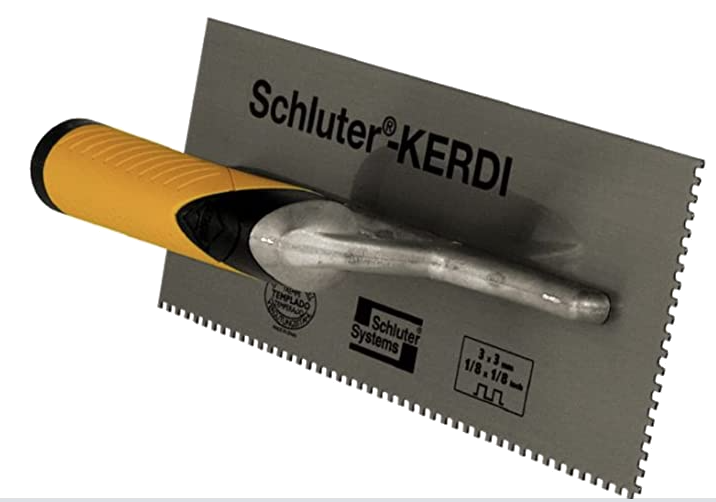 |
| RTC STAINLESS STEEL PROFESSIONAL TILE & FLOORING TROWEL (1/4″ X 3/16″ V NOTCH) | 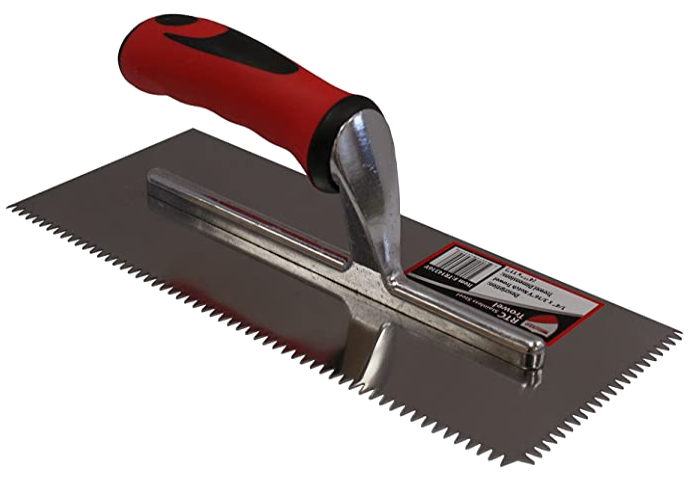 |
| BOSCH 11316EVS SDS-Max Demolition Hammer, Bosch Blue | 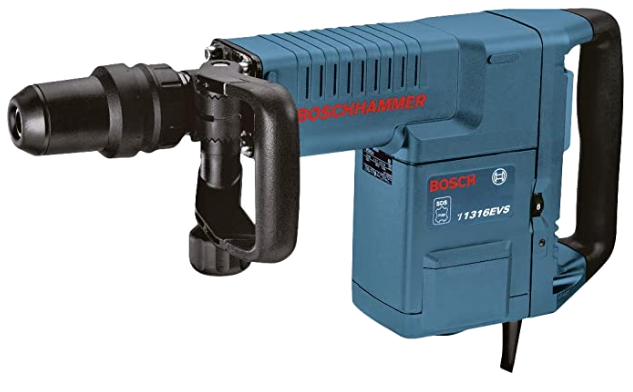 |
Fixing a Broken Piece of Tile
Unfortunately, accidents can happen, below you’ll see where I dropped a hand tool and cracked a couple pieces of the floor tile.
But no worries, being careful you can chisel out the broken pieces and replace them with new pieces of tile fairly easy. Check out the before and after pictures, I do hate doing work multiple times though.
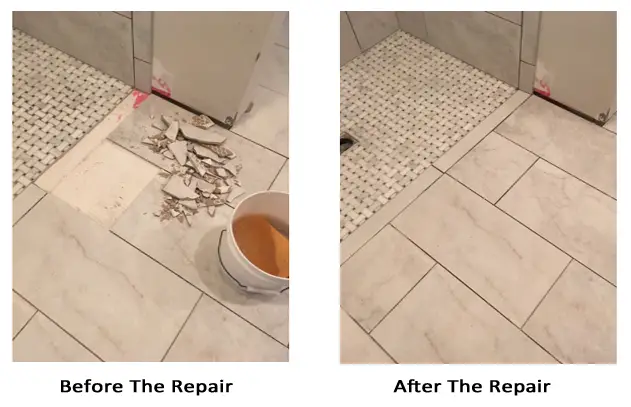
- In the before picture, using a hammer I broke out the center of the larger cracked piece of tile (Note: In the picture above, I first broke out the 11” x 12” piece of tile where the larger white spot is)
- Once the center of the first piece was broken out, I carefully used a small chisel to remove all the tile and mortar from the floor
- Now this gave me access to remove the thinner and longer bullnose piece of broken tile across the front of the shower base. Carefully using a chisel, the broken tile and mortar was remove from the floor. (Note: Using a retractable construction knife remove any grout that will keep the tile from fitting in the original space. You will have to re-grout around any of the tiles being replaced)
- Cut new replacement tiles for any pieces that need to be remove, test fit the new pieces, mix up a small batch of mortar to prepare for reinstalling the new tiles
- Using a 1/4″ square trowel Install the mortar in the clean open spaces where the new tile is to be installed. (Note: follow the instructions above in Step 7 “Installing the Tile” for pointers on installing the grout)

